

Setup Guide
A clearer monitor setup starts with calm placement.
Build a softer nursery monitoring routine with simple guidance for camera angle, parent unit placement, charging habits, and accessories that help BabyAura products feel ready for daily check-ins.
Quick setup path
Four simple details to check before the first nap.
A thoughtful baby monitor setup should feel practical, tidy, and easy to repeat. This guide focuses on everyday placement and accessory habits without making unrealistic promises.
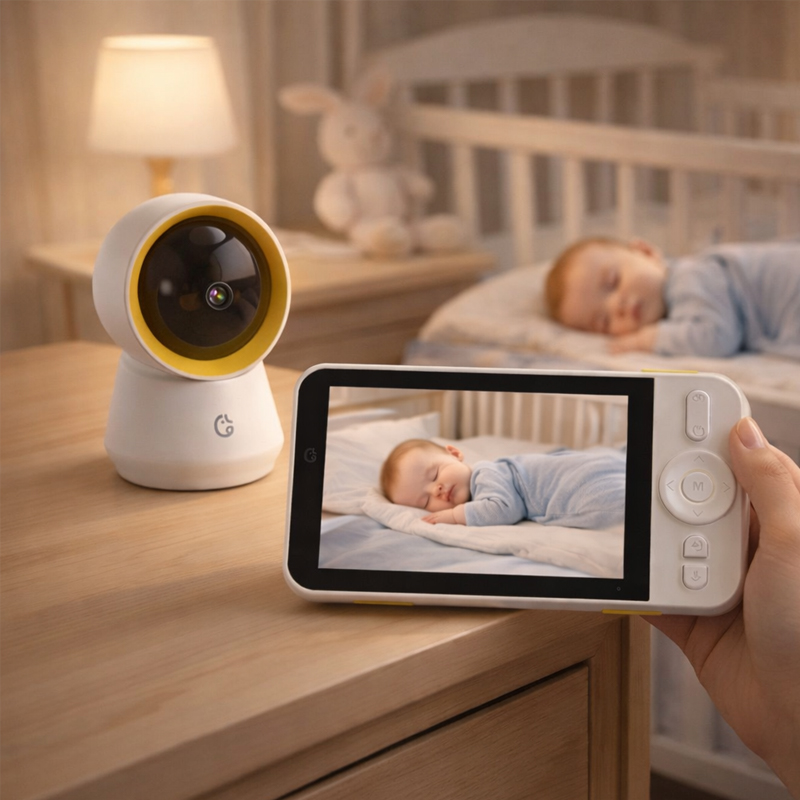
Set a clear camera angle
Position the nursery camera so the main sleep area is visible while keeping the monitor steady and away from cluttered surfaces.
Check the parent unit view
Review the screen from the places you naturally pause during the day, such as the bedside, living room, or feeding area.
Plan sound and talk settings
Use audio and two-way talk as part of a gentle routine, balancing sound awareness with the calm of the room.
Keep charging simple
Store charging cords and travel cases where they are easy to find, so the monitor stays ready for daily use and overnight stays.
Product setup visuals
Real baby monitor scenes for each part of the routine.
Each image sits in its own card with stable sizing, no overlapping columns, and product-focused baby monitor photography for a clean BabyAura setup page.
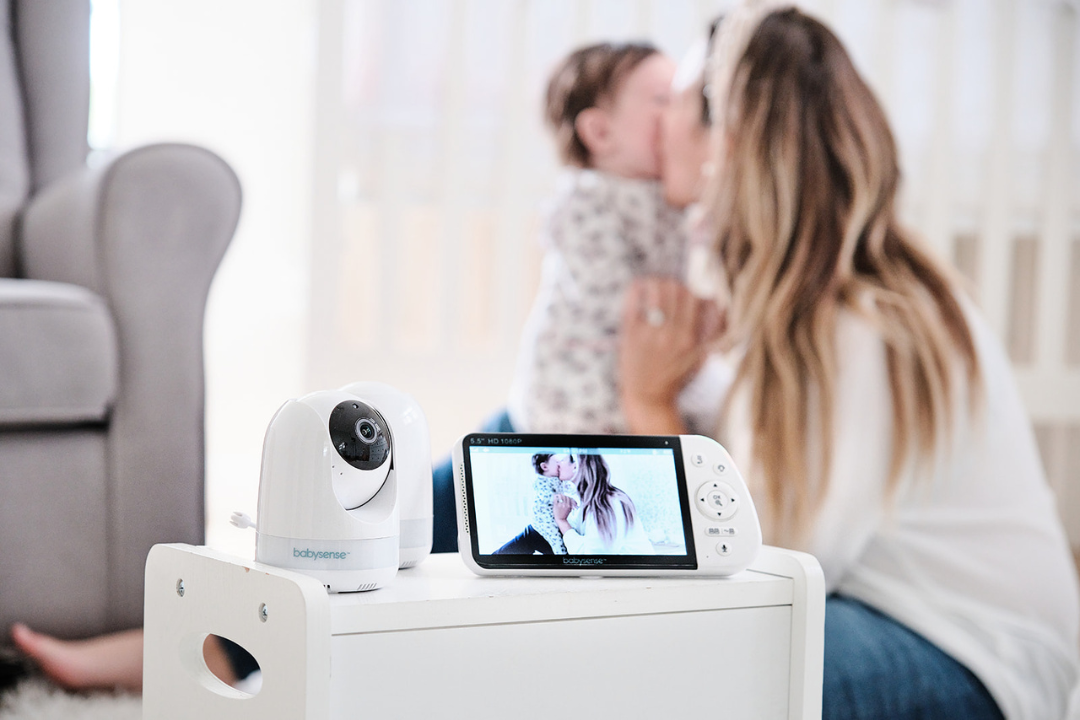
Start with a view that feels natural
Use a clean camera angle that supports simple check-ins during naps, bedtime, and quiet moments.
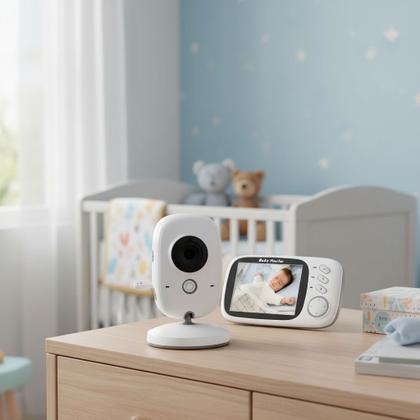
Keep the camera area tidy
A simple surface, holder, or mount can help the monitor setup feel more stable and less visually busy.
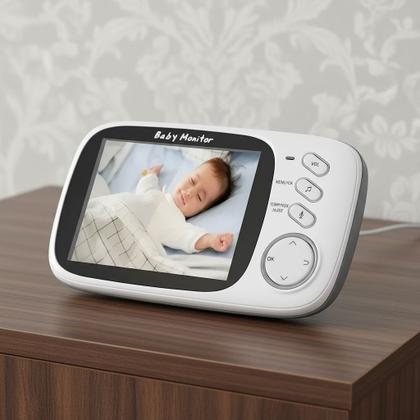
Review the screen before relying on it
Check the display from your usual viewing spot so the screen is easy to read during daily routines.

Pair camera, screen, and accessories
A monitor works best when the viewing device, power cord, and storage accessories are easy to manage.
Room-ready details
Make the monitor feel like part of the nursery, not an extra object.
Good setup is not about adding complexity. It is about choosing a steady view, keeping power access clear, and making the parent unit easy to glance at when the house is moving.
- Place the camera where the sleep area is visible and the setup stays stable.
- Keep the parent unit in a consistent spot for quick check-ins.
- Use charging cords and cases to keep the monitor ready between routines.
- Contact BabyAura when you need help choosing monitor types or accessories.
Setup answers
Helpful notes before your first full day of monitoring.
These setup answers keep the page practical and clear, helping customers understand monitor placement, viewing, audio, and accessory basics.
Choose a stable position that keeps the main sleep area visible and the setup tidy. A mount or holder can help create a cleaner viewing angle.
Check the display from your usual viewing location, keep the unit charged, and store the charging cord where it is easy to reach.
Monitor mounts, camera holders, charging cords, cases, and storage accessories can help keep the setup more organized and travel-ready.
Yes. Use the contact page for support or browse all collections to compare video monitors, WiFi monitors, audio monitors, parent units, and accessories.
BabyAura setup support
Create a cleaner monitor routine before the next quiet moment.
Explore smart baby monitors, video monitors, parent units, night vision options, camera holders, mounts, charging cords, and cases built for everyday nursery check-ins.